
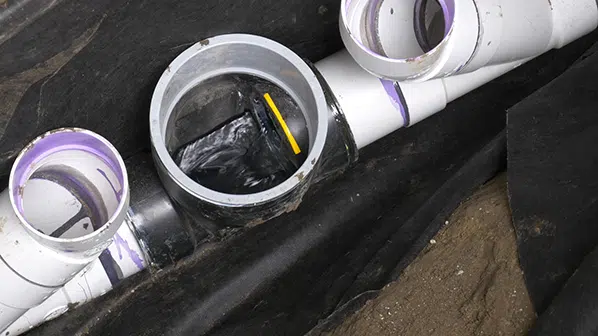
Project gallery
See access, installation and inspection conditions rather than relying only on stock product images.
Learn more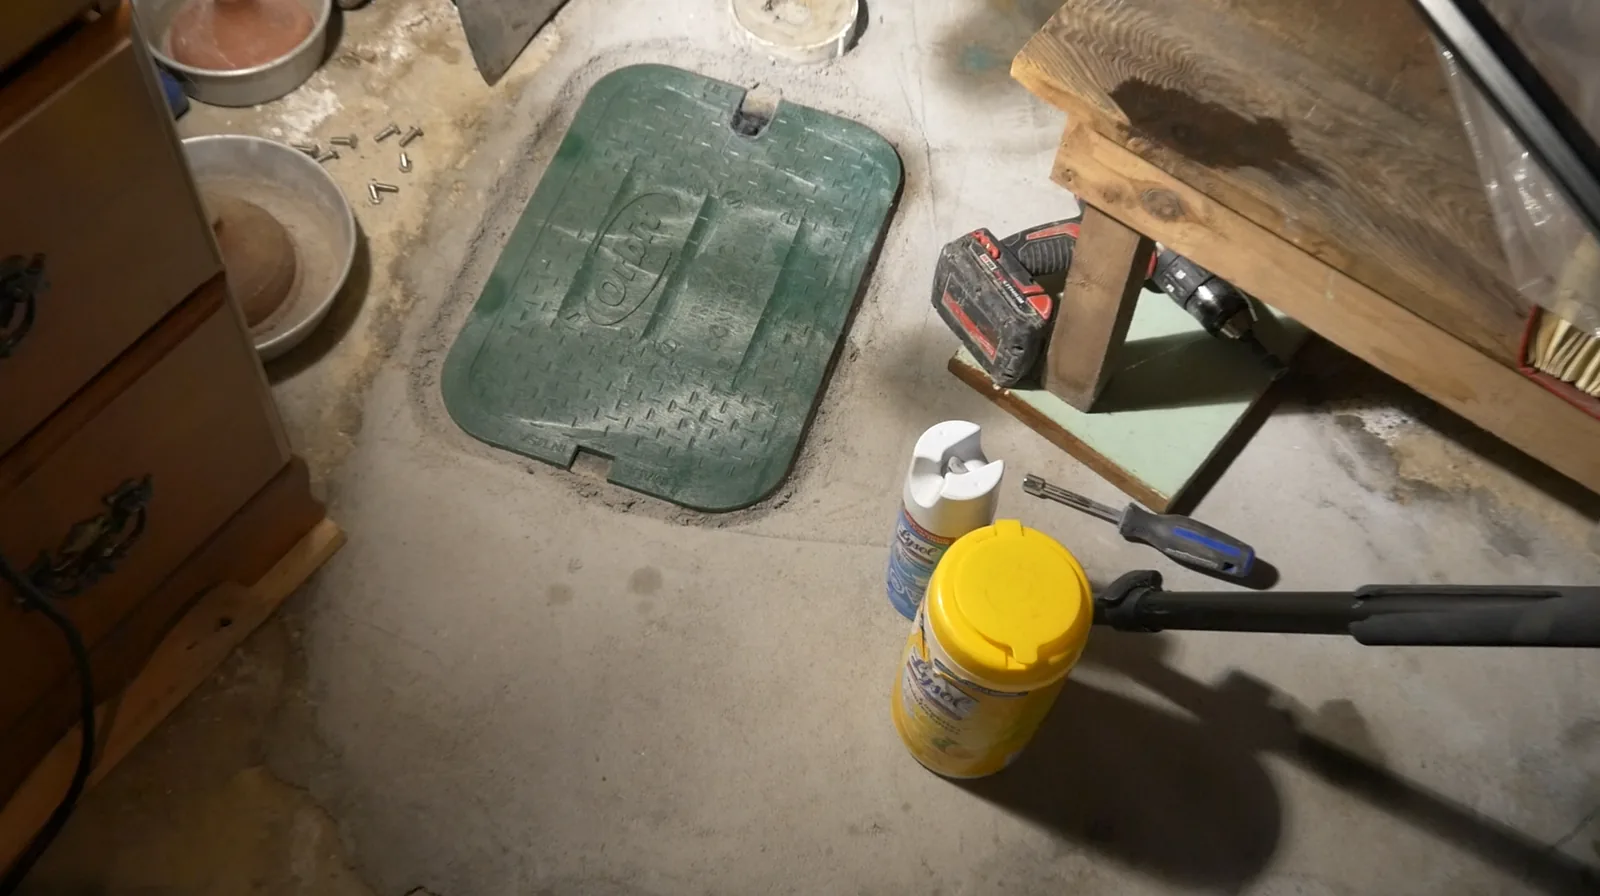
Real-world project pathway
See how assessment, installation, inspection, access and records fit together in a typical residential project.
What to know
The first step is defining the actual sewer-backup concern and the decision the project needs to resolve. A project example should not imply that the same scope fits every property.
Project context
The project uses available drawings, visible drainage, camera or locating evidence, access conditions, authority requirements and product instructions to develop the work sequence.
Owner handover
Close-out records identify what was installed or assessed, what remains outside scope, the inspection status, access location and the owner’s maintenance responsibility.
Project checklist
Use the assessment, authority requirements and written scope rather than choosing from a generic product package.
Related next steps
See access, installation and inspection conditions rather than relying only on stock product images.
Learn more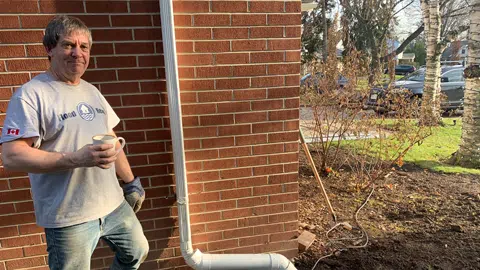
Tell us where the property is, what happened, whether a valve already exists and which municipal programme may be relevant.
Learn more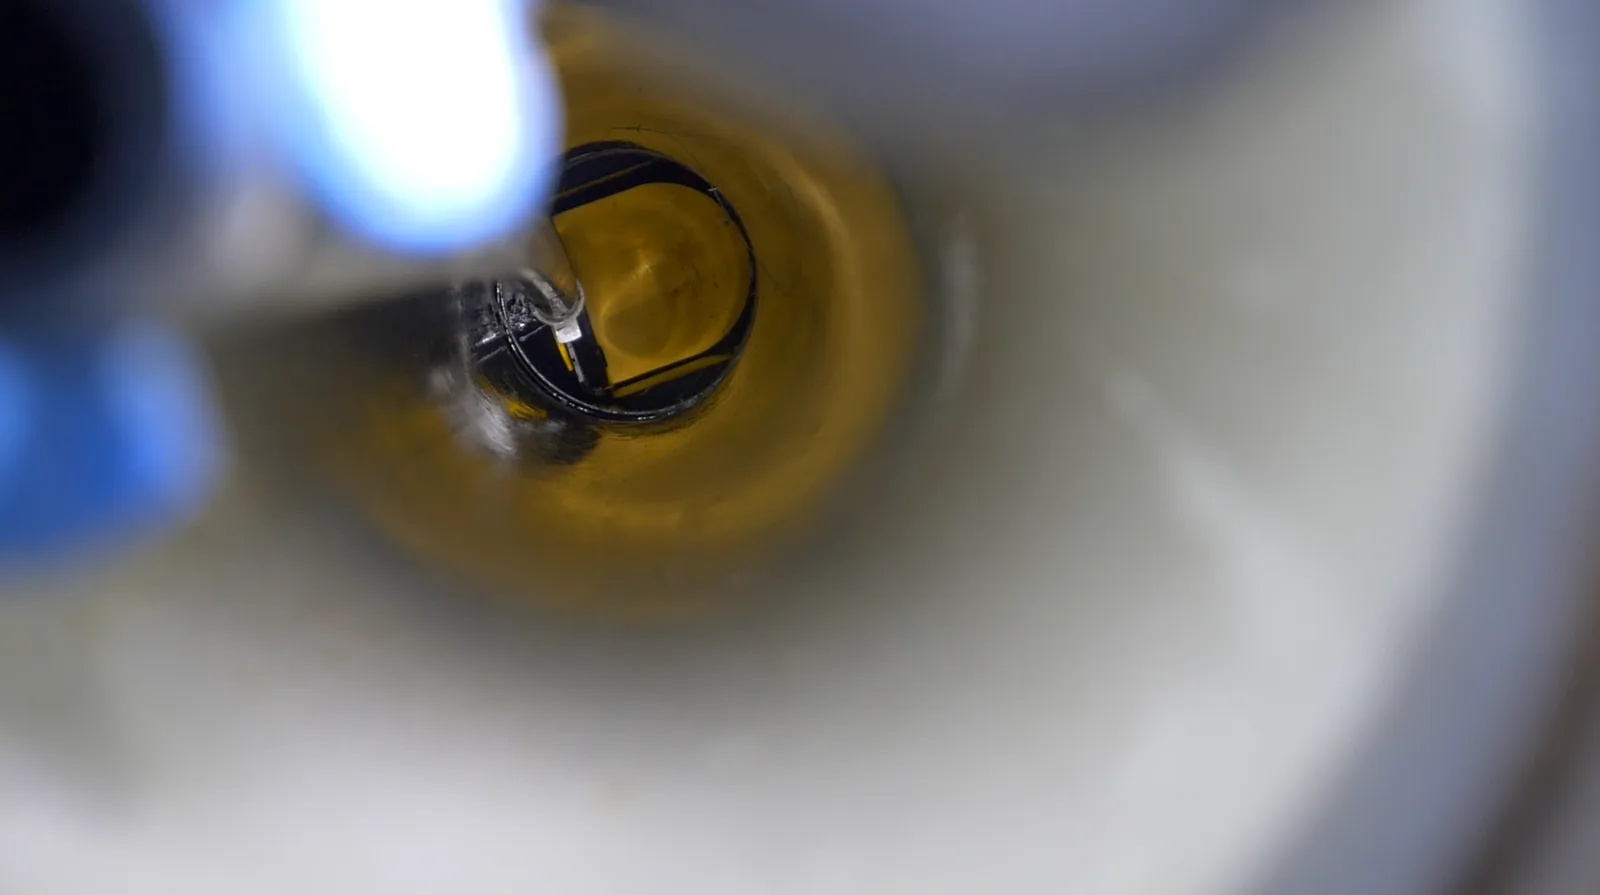
Photos can help identify the next assessment step, but they do not replace site inspection or hidden pipe evidence.
Learn more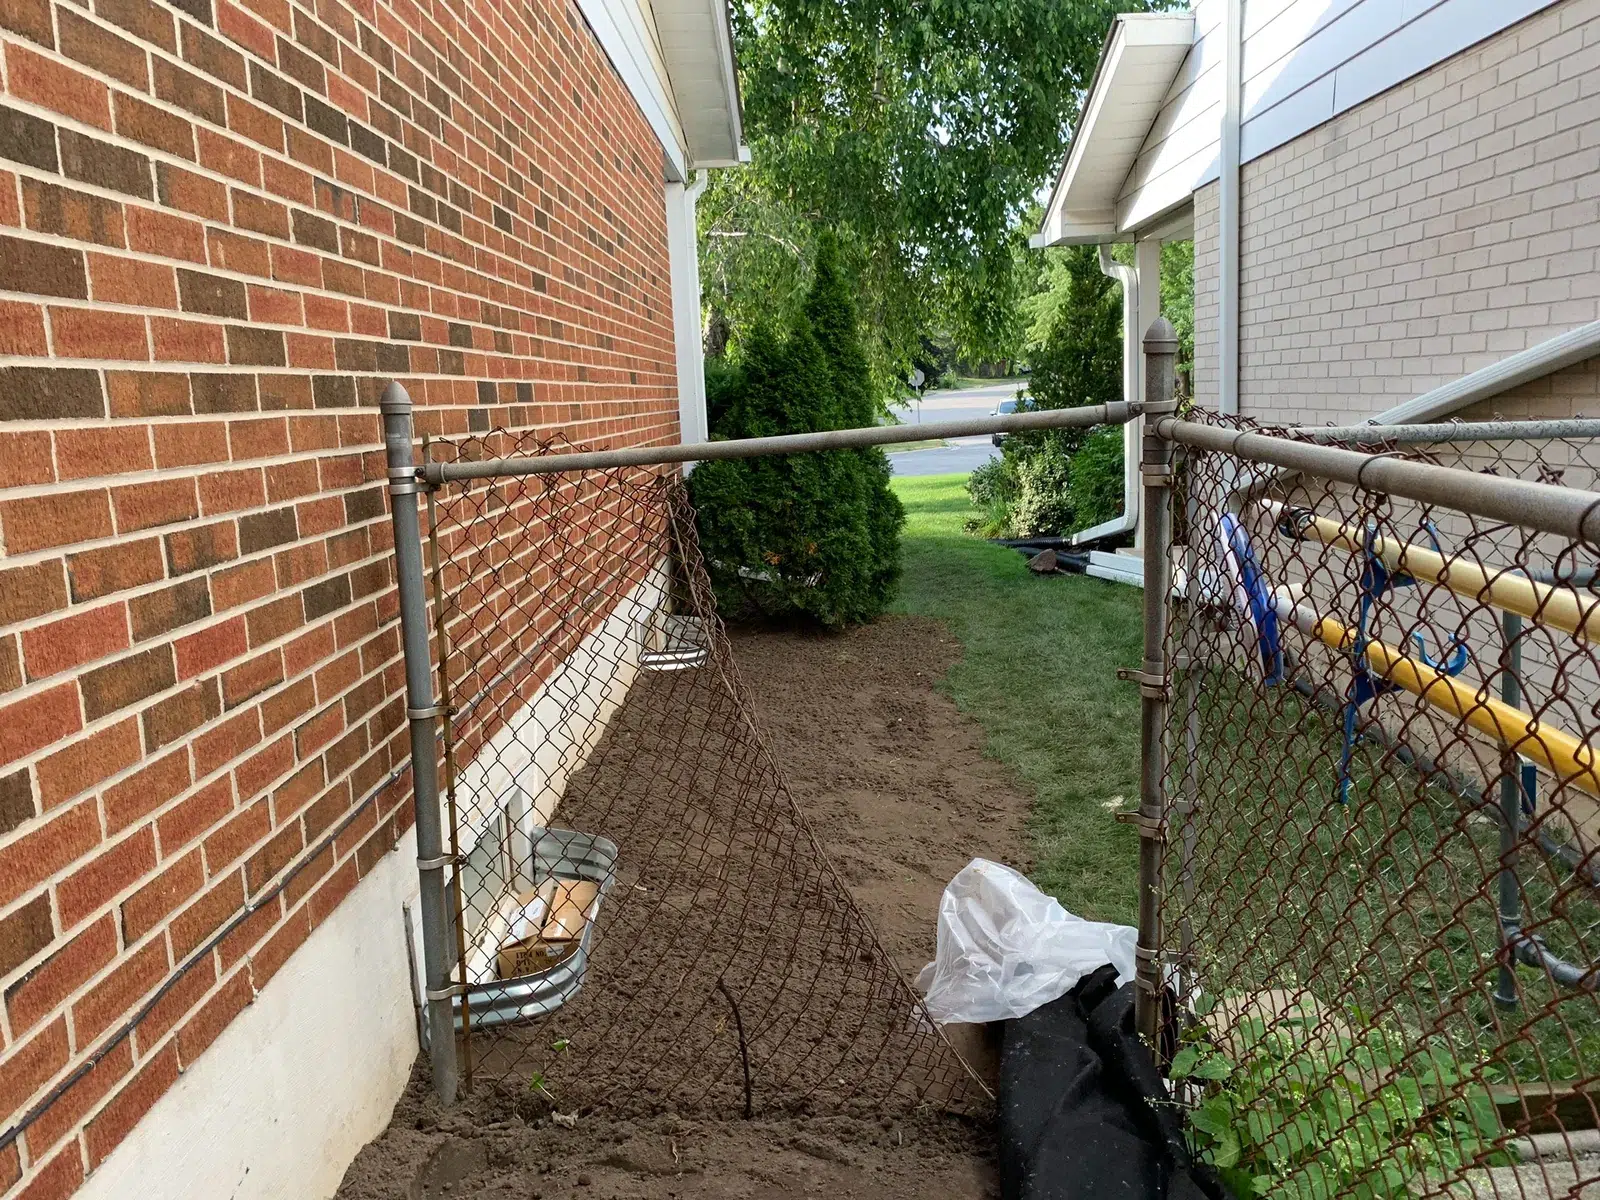
Provide the assessment information needed to prepare or schedule a reliable quotation.
Learn moreFrequently asked questions
No. It is an educational project example.
No. Product, size and configuration follow the actual drainage design and applicable requirements.
Public images should exclude identifying client information and be used with appropriate permission.
Use the assessment or project-photo form.
Next step
Open the photo enquiry form first. Images are optional and can support an initial screening.